Friday, October 31, 2014

Tutorial: Printing on Paper Lunch Bags - an Update


It's officially going to be raining for the rest of today.  The kids are going to a party at 5pm and then we're trick or treating around the block.  I've packed up treat bags for the kids at the party just in case it's too rainy.

A while back, I did a tutorial on Printing on Paper Lunch Bags and I've been printing lots since then.  However this Halloween, I made a slight change to how I do this.

In the original tutorial, I showed you a picture where the bag bottom is taped up to the side that I printed on.  If you look at the picture below, you are limited in how far down the bag you can print if you fold the bag bottom upwards.


So the alternative is to tape the bottom to the back like this.   Remember that the "back of the bag" is where the the bag seam is.  Now I can fill the bag and have some space to roll up the top.


In case you were wondering, the Halloween Font is from dafont under the category "fancy" and "horror" and it's called Scary Halloween. 


Friends, there's always room for improvement and I'm liking this small change.  Happy trick or treating!

Follow on Bloglovin

Thursday, October 30, 2014

DIY: Play-doh Halloween Loot Bags for Times when you can't Give away Candy...


Our school has a policy of "no food sharing".  So when it comes time for special events like Halloween and Birthdays, it's a little more challenging than bringing in a birthday cake or buying mini chocolates.  We, like other parents, have been giving out pencils and erasers.  By now, we have given and received enough pencils to last for years.

The other day, hubby and I were at the store and we saw the perfect little non-food treat. Play-doh!


While it should be enough to just hand it out at school, hubby and I like to go the extra mile.  Or as some might say, "we've got too much time on our hands".   Hence, we did a little extra work to try to make the play-doh a little more "halloweeny".

Supplies:
  • Play-doh
  • Small clear plastic bags 
  • A hubby with photoshop knowledge

Here's what we did:

Measure the width of your plastic bags and design a graphic that will fit the width.  The height is up to you.  We wanted ours printed as a 4" x 6" photo so our graphic was approx 2" tall.  This allowed us to squeeze 2 graphics onto the 4" x 6".

Once the graphic is done, have it printed at a photo lab.  At $0.15 a photo, it's affordable and nice!    This is is what it looked like before it was folded.


Here's what it looks like when folded.  The words are the front and the graveyard is the back.  Make sure you orient the back properly when you design the bag label so that it is right side up when folded.


Line up your supplies.  Then place the play-doh into the plastic bag and seal it.


Staple on your label and you're done!


Make sure you have enough for all the kids. 

 
Ta da!  Put them in a bag to take to school.  Done and done!  No candy and no pencils!


Happy Halloween!

Follow on Bloglovin

Wednesday, October 29, 2014

Halloween Costumes: Easy Skeleton DIY and Obi-Wan


We get pretty excited about Halloween over here for a couple of reasons:  1) dress up time!  and 2) it's getting closer to Joshie's birthday. 

For Obi Wan - It was really easy to put together his costume.  Unfortunately I didn't make a tutorial because part of this costume was made this past February.  Both kids were invited to a Star Wars themed party and I made him a raglan sleeve Obi-Wan robe.  While I might have grumbled a bit (a lot!) while sewing Josh his robe, I am so thankful now that I didn't have to sew as much.   All I had to do was make a vest and a sash to go over the vest.  This costume is great because it can go under his winter coat, or over it!


I wanted Teo to be a knight so I could re-use this costume.  But, he wears hand me downs all the time and Halloween is his chance to decide what to wear.  For months, he said he wanted to be a vampire and he ran around the house wearing last year's bat cape.  Then he decided he wanted to be a skeleton. Yay!  We had everything at home to make his costume except for pants which I ended up buying at Walmart for $6.

So here's how to make it.

You need:
  • Long sleeve black t shirt
  • Long pants 
  • White jersey scraps
  • Heat n bond

Before you start, find your inspiration.  This was mine.

 
Make a template for the bones.  Then draw your bones into the heat 'n bond paper.  Remember that you need to draw the picture on the inverse as you will fuse the paper to the back of your jersey.  I forgot, so I had to redraw some of the bones.  Make sure you keep the template in a ziploc bag in case you need to make another costume. Once you have the bones drawn, fuse the heat 'n bond to the back side of your jersey fabric.  Cut out your pieces.


Layout is important so peel off the heat 'n bond paper and line up your bones on the shirt and pants.


Make sure that the "arm" bones go on top of the arm vs on the side.


If it all looks good, iron it on.  You don't have to sew on the bones.  As the hip bones are close to the opening, I used a straight stitch to sew around the bones for added strength.

Now we have a skeleton to go with our front yard's graveyard.


The kids have worn their costumes 3 times already.  Once to their grandparents, and twice for pre-Halloween trick or treating at Bruce's Mill and the Museum.  Hey Batman!!


We went to the mall yesterday and Josh pointed out this costume at H&M.  Sigh...  Although I have this thing where I have to make the costumes, I have to remind myself that it's ok to buy one once in a while.


Happy Halloween - I hope you have your costumes ready!

Follow on Bloglovin

Monday, July 21, 2014

Summer summer summer time... about the shop

Hey all,

It's been a while since I posted here or on my Facebook page.  It's been on my mind to post a note to let everyone know what's been going on over here and in the shop.

Summer finally made it here and I have both kids with me.  Joshie has a lot of energy and wants to do everything.  Teo is starting to come out of his naps and he's starting full day kindergarten in September.   I want to spend as much time with them before they are off in school.  Now that they are both getting older, they are also much more enjoyable because we talk and I get to hear their opinions.   So in the spirit of having a good time, this is what we've been doing so far...

We're having ribs because it's the summer of ribfest. 


We got those from these guys... I will never go to another vendor again.  These were made just the way I like it.


We're cooking together quite a bit.


We're climbing trees like monkeys, learning TKD, riding our bikes, and swimming a lot!
(We're swimming because someone is going to have to save me in the pool)


We're going to the museum for classes.  Kids love it there and so do I! 


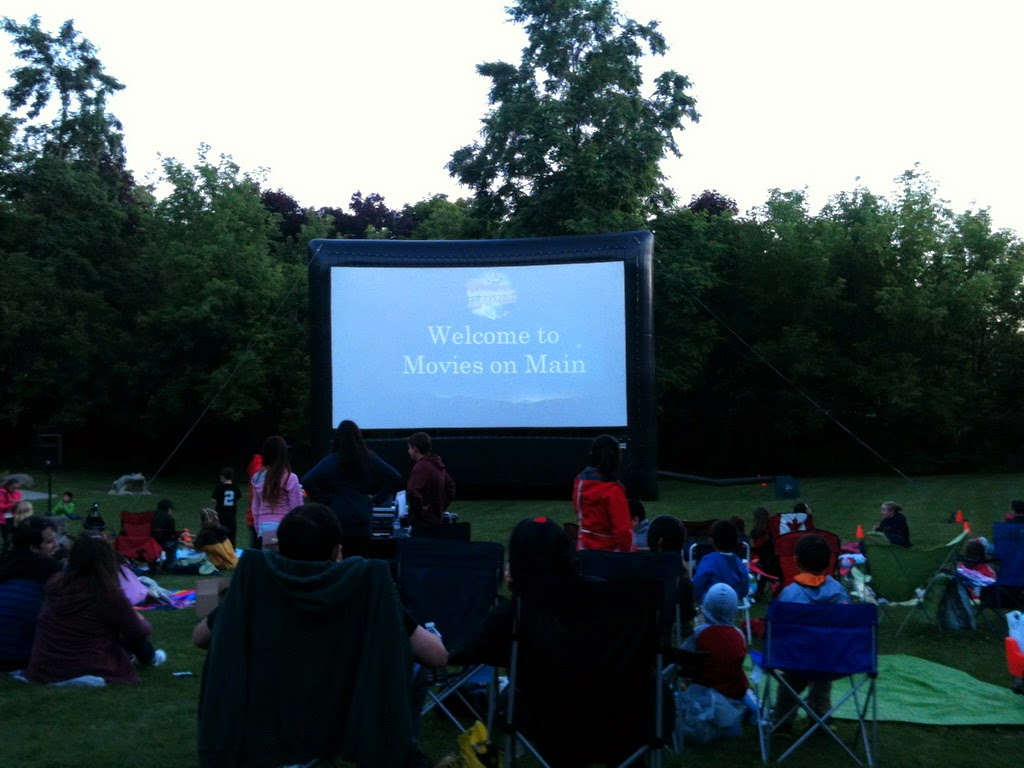
I'm letting them stay up a little later some nights.  We saw our first outdoor movie (Back to the Future).  By the time we were in bed, it was past 11pm.  Shocking!


I was fortunate enough to spend a lovely weekend with a great group of ladies for our annual girls cottage weekend.  What a view! 


With everything going on around here, I didn't really feel like I could put the appropriate attention to the kids and to the shop.   Hence, I made a conscious decision to leave the shop closed until October which means there will not be any toddler backpacks for back to school this 2014.

I am going to use these next several months to assess what I would like to do with the shop, have FUN with the kiddies, and sew for the pure joy of making something with my own hands.

Take care and enjoy the nice weather!  xoxo

Follow on Bloglovin

Thursday, May 22, 2014

Happy House Anniversary!

Today marks our first year in our new home!  We are really happy with our new digs!  Our new neighbours are fantastic, we can walk to our school, and we have a lovely ravine path near our home.


Last April, we said goodbye to our little bungalow, left the message below for the new owners and then moved in with my in-laws while we worked on the home.


This past year was full of home improvement projects - some big, some small and some that are still on our to-do list. 

After ripping out all the wallpaper in the bungalow, I didn't think I'd be doing it again.  But, our new place had some wallpaper so we put on our goggles, got out the sprayer, and began scraping.  It's so satisfying to take off a whole sheet!


I'm pretty sure I cried more than once while taking down the plaid green wallpaper.  The wallpaper was fused onto the drywall and it took days to remove it.  We would remove a little bit each day in order to maintain some level of sanity.  Eventually we got it all off.  I had a moment when I thought, "let's just paint over it".  But we persevered and we can now say that the wallpaper DID NOT win.


We said goodbye to all of the carpet (too many different kinds!) in the house except for the stairs.  The kids weren't used to so many steps so we will keep it until they are a little bit older.


Here's a pic of the new floors.  It's so much easier to clean now that the carpet is gone.

 
We replaced the old windows with energy efficient windows.  Supposedly they are self cleaning as well. 


We started painting this year.  Little fingers are great for taking off painters tape!


After we put in new baseboards, we realized that most of our baseboard, trims, and doors are not white but a pink toned beige.   Aargh!!!  Time for the spray painter. 


I did a lot of landscaping last year to remove the overgrown backyard.  It was a little crazy back there - almost like a forest!   Joshie is a mosquito magnet so I removed most of the ground cover, trimmed all the trees, raked all the dead branches and things out of there, and discovered a bunny nest!  This year, it's much more tame and we only saw 2 new baby bunnies.  (I love this pic.  I was in the kitchen making lunch and saw big brother helping little brother.  Muah to both of them!)


I never thought I'd get used to the new mail box system but I have! 


There's so much more to write about but since this is not a home improvement blog, that's it for home related talk.  It's been a fantastic year and I couldn't have done any of this without hubby.  As I type, I can hear him fixing something somewhere in the house.  I'd better go help!

Until next time,

Follow on Bloglovin

Thursday, March 20, 2014

Duck Toddler Backpack in Mint

Introducing... a new design!  Shall we say "hello" or "quack"?


Way back in 2012, I made a grey owl toddler backpack for Sarah's daughter.  Fast forward to 2014 and she's got another little one who needs to have a backpack like her big sister.


I love new design time!  Sarah and I discussed what she wanted and I sketched out a design for her.  First we thought a white duck would be nice but I had a feeling there wouldn't be enough definition for the eyes.  Her sister had a grey owl so we thought maybe grey.  But then Sarah asked about doing a duck in mint and I was sold!  We've had so much snow since December that the thought of doing a bright duck felt very spring-like.

My inspiration?  Our bathtub rubber ducky


Here's a pic of us figuring out what colour the duck should be.  I did actually like the grey but there was something about the mint one.   One of my other customers suggested tan feet for her pink owl toddler backpack, so I incorporated it in this layout too.


We also discussed putting a wing on the duck as per my original design.  However, in the end, it was just a cleaner look to exclude it.


We also discussed "short feet" vs "tall feet".  Hubby suggested red rubber boots (I'll have to keep that in mind for the next one!).


There are elasticized pockets on each side.


Here's a pic of the back.   I used a dark brown piping, bias tape, zipper and webbing.


The quilted bottom


I found the lining a while ago and was waiting for the right backpack to use it on.


While I like the basic brown that I normally use, there's something very happy about this yellow lining. 


I would have loved to do some outdoor pictures but there's too much snow on the grass.  I guess the front porch will have to do...


More wishful thinking for spring weather.  (Couldn't find our yellow boots but Spiderman boots will do too!)


I'm crossing my fingers that ducky helps usher us into a nice spring.   We are ready for the warmer weather!

If you would like more information on my toddler backpacks, please view my 2014 Toddler Backpack FAQs.  However, if you know how to sew and would like to tackle this project (appliques are my designs), visit Made by Rae's website to purchase a PDF copy of the toddler backpack pattern.

http://handmadebyjt.blogspot.ca/2014/02/frequently-asked-questions-about-my.html


Happy Sewing!
Follow on Bloglovin